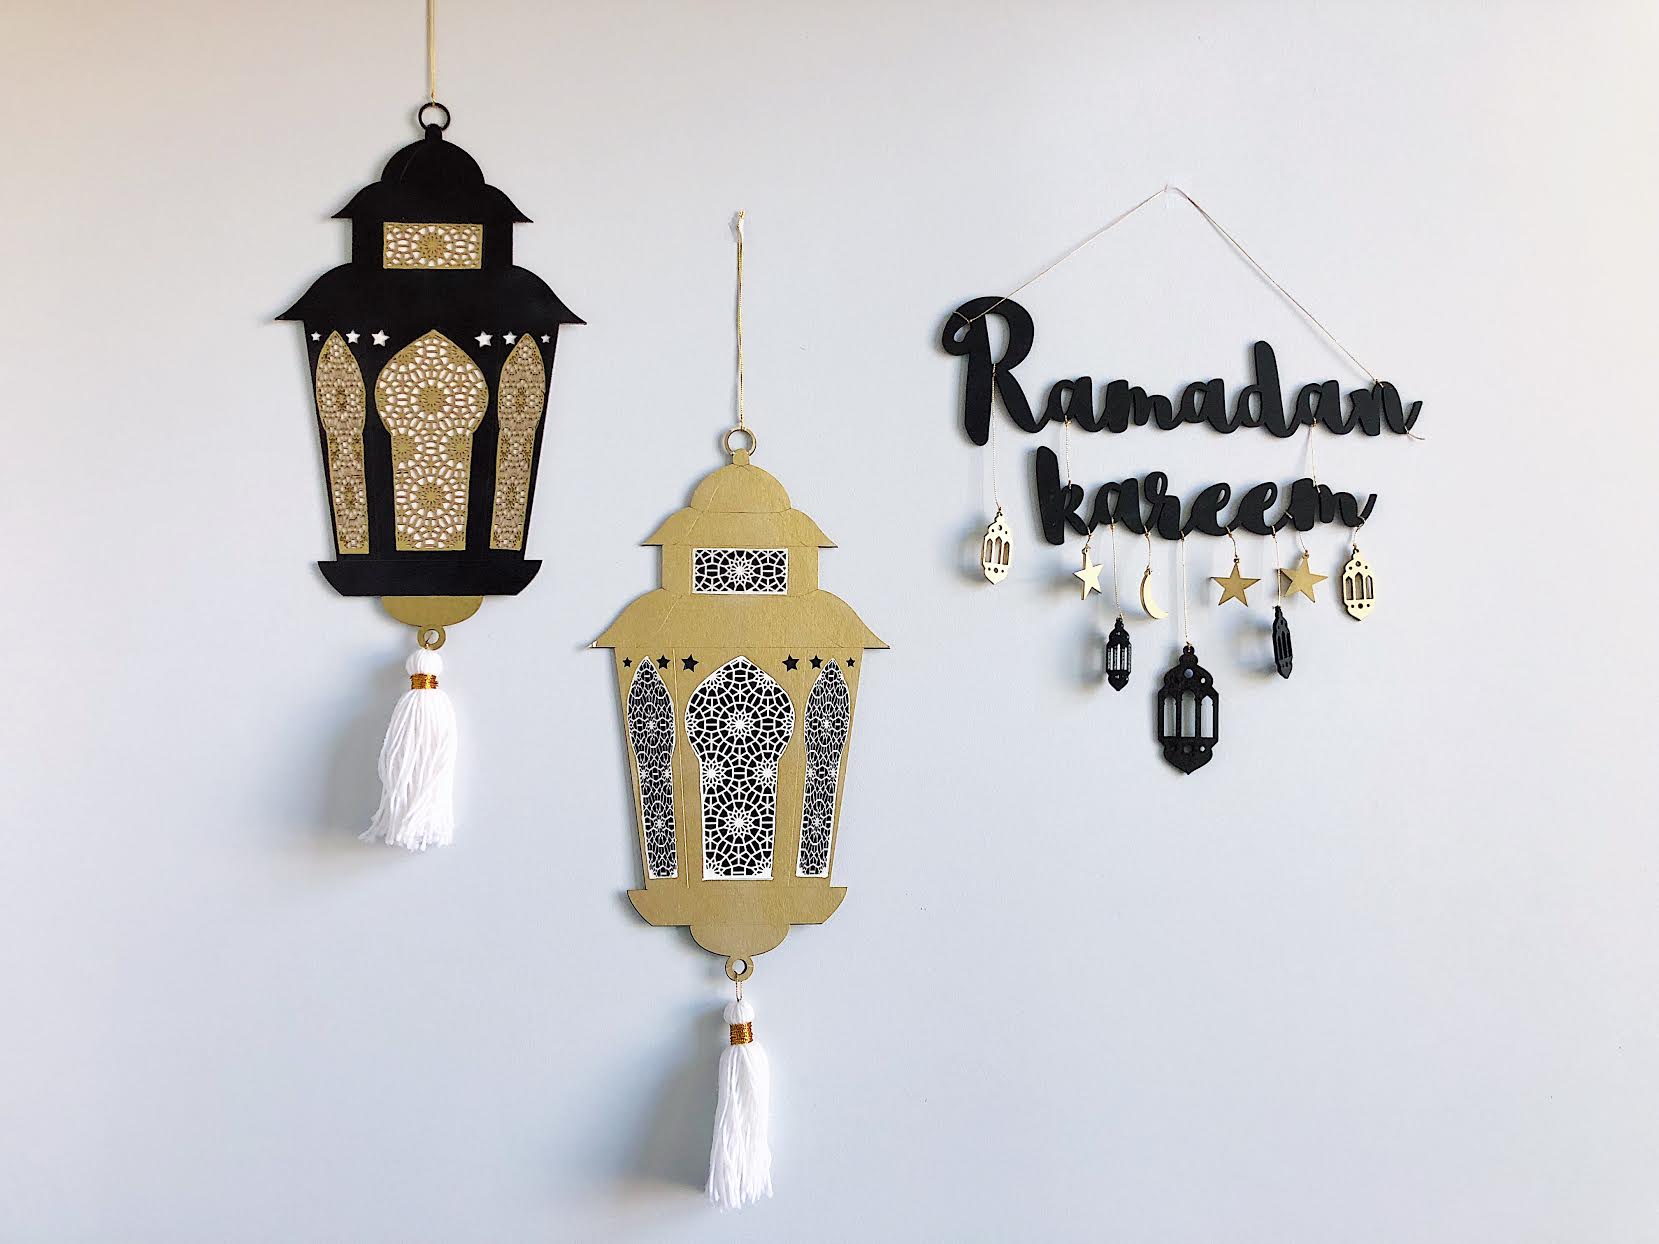
I have a slight obsession with lanterns that may or may not have stemmed from the lantern scene in Tangled. I incorporated big, colorful lanterns into my mehndi (henna) night decor and I have faceted lanterns full of candles and lights around my home. I also made a string of paper lanterns for my Eid party - and that’s what this post is all about! Here’s a simple tutorial on how to make hanging paper lanterns to jazz up your next event. You may have made these lanterns in school during arts and crafts, but now it’s time to make them the adult way with fancy pants paper and hot glue (#adulting).
Step 1: Assemble the materials
You only need a few things to make these lanterns, but the most important material is the paper. Choose a paper pad with patterned square sheets that are heavier than regular paper, but not as heavy as card stock. I know, that was super clear right? 🙈 Perhaps a visual will help. This is what I used:
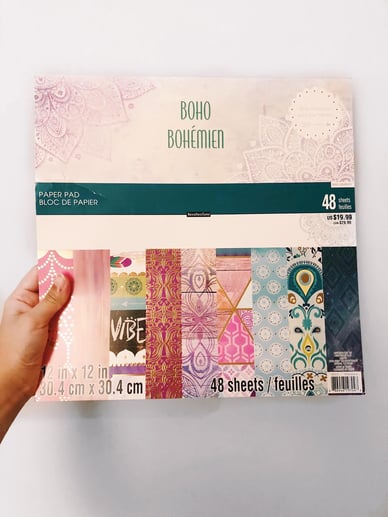
In addition to patterned paper, you’ll also need construction paper (roughly the same size as the patterned paper), scissors, and a hot glue gun. If you want to be extra meticulous, you may also need a ruler and a pencil.
Crafting tip: Michaels has a bunch of paper pads.
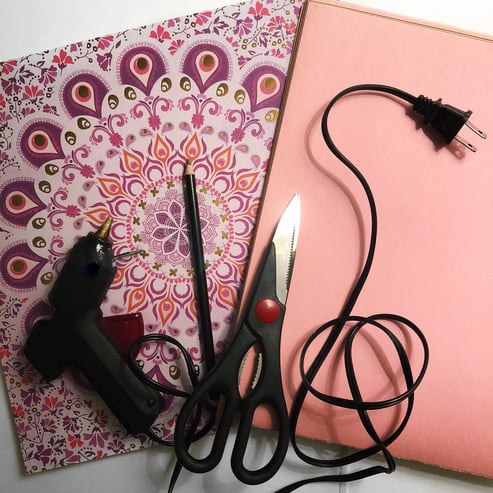
Everything you’ll need to make hanging paper lanterns
Step 2: Choose a color combo
Pick one patterned sheet of paper and tear it off from the paper pad. Then, pick a color of construction paper and tear it off from its pad.
Step 3: Cut a strip off
Use your scissors to cut a strip off the end of the patterned sheet of paper and keep it aside for the handle.
Step 4: Fold the patterned sheet and make incisions
Fold your patterned sheet of paper in half. Then, use scissors to cut a line from the folded bottom to about an inch away from the other end. Make these incisions down the length of the paper.
Crafting tip: Do NOT cut the strips off. If you want to be super precise, use a pencil and ruler to make sure the strips are equal width (but you can just eyeball it too).
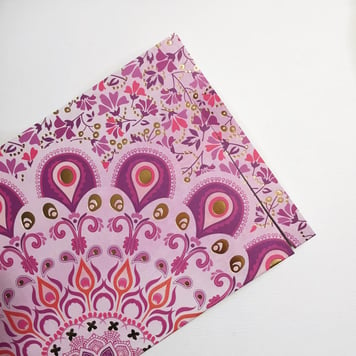
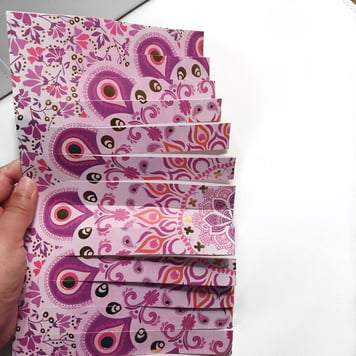
Step 5: Unfold the paper and glue the corners together
When you unfold the paper, it should be intact with a noticeable bend in the middle. Glue the top two corners together so that the incisions are vertical. Then, glue the bottom corners together too.
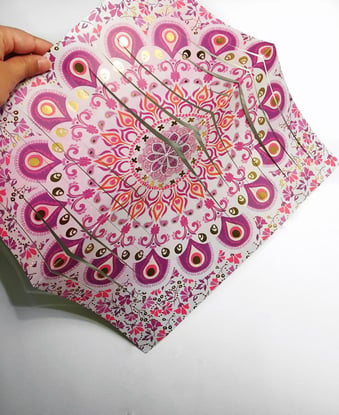 .
. 
Step 6: Make the handle
Grab that strip of patterned paper you cut off in step three and glue it like a handle. Voila! You have a basic hanging paper lantern. Now, you could stop here, or you could continue and take this up a notch.


Step 7: Repeat steps 4 & 5 with construction paper
To add more dimension to the lantern, I usually create another lantern and stuff it inside. Yes, it’s exactly like how it sounds. Take your sheet of construction paper and fold it in half. Again, make cuts of equal width down the side and then unfold the paper and glue the corners together.
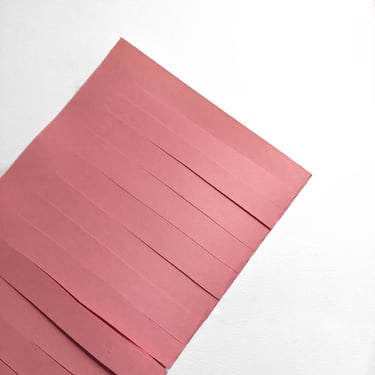
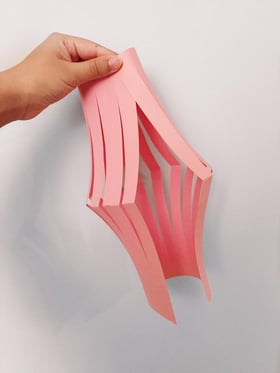
Step 8: Stuff one lantern inside the other
If you’ve gotten this far, you should have two lanterns (one patterned one and one solid color). Take the solid color lantern and gently stuff it inside the other one. Why? The solid color will accentuate the pattern of the lantern, fill in some of the gaps between the strips, and make this simple lantern look intricate.

While you’re stuffing one lantern inside the other, it may look like a paper squid 🦑
Step 9: Glue the second lantern in place
After you’ve nested one lantern inside the other, adjust the strips so they peek out a little bit and glue them in place. Now you have one beautiful, finished lantern!

You can either hang this lone lantern, add more to it (like ribbons underneath) or keep going and make a bunch more in different colors. Lanterns look especially amazing in large quantities.

Whatever you do, I hope you have fun making these lanterns! BRB while I go watch Tangled.
About Annum Munir
I’m a twenty-something Muslim blogger who’s guilty of falling in love with every place I visit. I’m always planning the next trip in my head and missing the last one in my heart. When I’m not off discovering new parts of our beautiful planet, you can find me happily immersed in an art project.

